A line-by-line guide to conforming skirting board, utilizing Richard Burbidge moldings and fundamental woodworking devices and methods. The skirting boards installation Perth serves the professional carpentry.
- Select the molding of Richard Burbidge
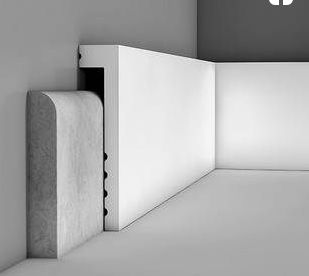
Initially, we’ll need to determine the technique we’re getting on9 for – they recommend the ogee, chamfered, or torus skirting moldings for this program. For a conventional style assign our skirting torus, or for a modern look, they recommend skirting chamfered.
- How to start
They recommend beginning from the side of the left-hand door and working our way among the room without clockwise, bargaining with each intersection in a roll. Next, they must realize how to reduce the skirting for superficial and interior corners. They submit a miter slash for outer intersections, and a joint scribed for inner corners as they, not all fences are at an excellent right angle.
- Shaving the molding for an external corner–mitered
Criterion the extent to the second corner and imprint onto the end of this skirting, then the intended path of the miter cut. Second, ensure the skirting guise confronting into the miter box.

Utilizing a committee saw earn a 45-degree slope miter slash in the substantial direction. Comfortable with the skirting board adjoining into the miter crate and earn a miter slash on the contrary way, gravel both mitered ends until soft. Clasp both mitered together ends assuring they match appropriately. If the suit isn’t precise we can utilize a block aircraft to shave the verges to attain a better suit.
- Chopping the molding for an interior corner – joint scribed
Initially, carry one of the two pieces which will construct the inner corner and slash to quantity with a consecutive slash, so the verge is reddish to the fence. Then spot this chunk at a right corner onto the complexion of the two articles of skirting, and bring out around the contour onto the skin of the chunk we will be reducing.
- Conserving the molding to the fence
The select choice when ensuring the skirting is sticky, as it enables for a healthy and experienced finish. If their wall isn’t entirely straight we may expect to utilize another applying technique alongside the concrete. Beginning from the side of the left-hand door, apply adhesive grab to the rear of this skirting and pertain PVA to some external miters, and carefully pertain to the fence.
- Expand the ending touches
Formerly this skirting pertains, design decorators caulk to repair some holes, bangs, or gaps previous to end. We have several different choices when completing pine skirting, we can smudge for a conventional look, color for a modern end, or select to maintain the new look of fresh pine.
Those little completing touches are there we can earn the skirting our own, and bond in with our chosen scenery. If we elect to tint or evacuate it as this is, they recommend plugging the ground with oil or varnish. For motivated MDF skirting, they recommend masterpiece.
- Share our DIY renovation program
They love glimpsing how we have renovated our residence with Richard Burbidge. Update an image of our DIY program to Facebook or Instagram tag them @richard_burbidge. We can also update load our impressions to our appreciations page there. They can’t stop to discern what we build with Richard Burbidge moldings!